Getting Started
What is FlowGen
FlowGen is a tool built for AutoGen, a fantastic agent framework from Microsoft Research.
AutoGen streamlines the process of creating multi-agent applications with its clear and user-friendly approach. FlowGen takes this accessibility a step further by offering visual tools that simplify the building and management of agent workflows.
Key Concepts
Agent
The Agent is the core concept in AutoGen and FlowGen. For applications, this usually means a ConversableAgent, which includes two types: AssistantAgent and UserProxyAgent.
-
Assistant Agent
The AssistantAgent is your go-to helper to accomplish a task—it could be a chatbot, a code generator, or a planner—perhaps even a blend of them.
-
UserProxy Agent
The UserProxyAgent enables interaction with the AssistantAgent. It can take the form of a chatbot, a code executor, or even a human—it's quite the versatile agent.
Autoflow
A Autoflow consists of a network of Agents. It's the foundation of any multi-agent application.
A standard Autoflow usually includes one UserProxyAgent and one or several AssistantAgents. The UserProxyAgent is your direct line of interaction, while the AssistantAgents work behind the scenes, collaborating to build a robust multi-agent application.
Chat
Each Chat represents a live session that has been spun up from a Autoflow or a AutoflowTemplate.
Autoflow Template
Ready to launch a Autoflow? Publish it as a AutoflowTemplate in the FlowGen Template! Users can then deploy these templates to conjure up new Autoflows or strike up chats directly on the template itself.
"Hello World"
Let's jump straight in and create a simple "Hello World" flow.
Initialize a New Autoflow
Head over to FlowGen Login and tap Login as Guest for a test run without the need to sign up.
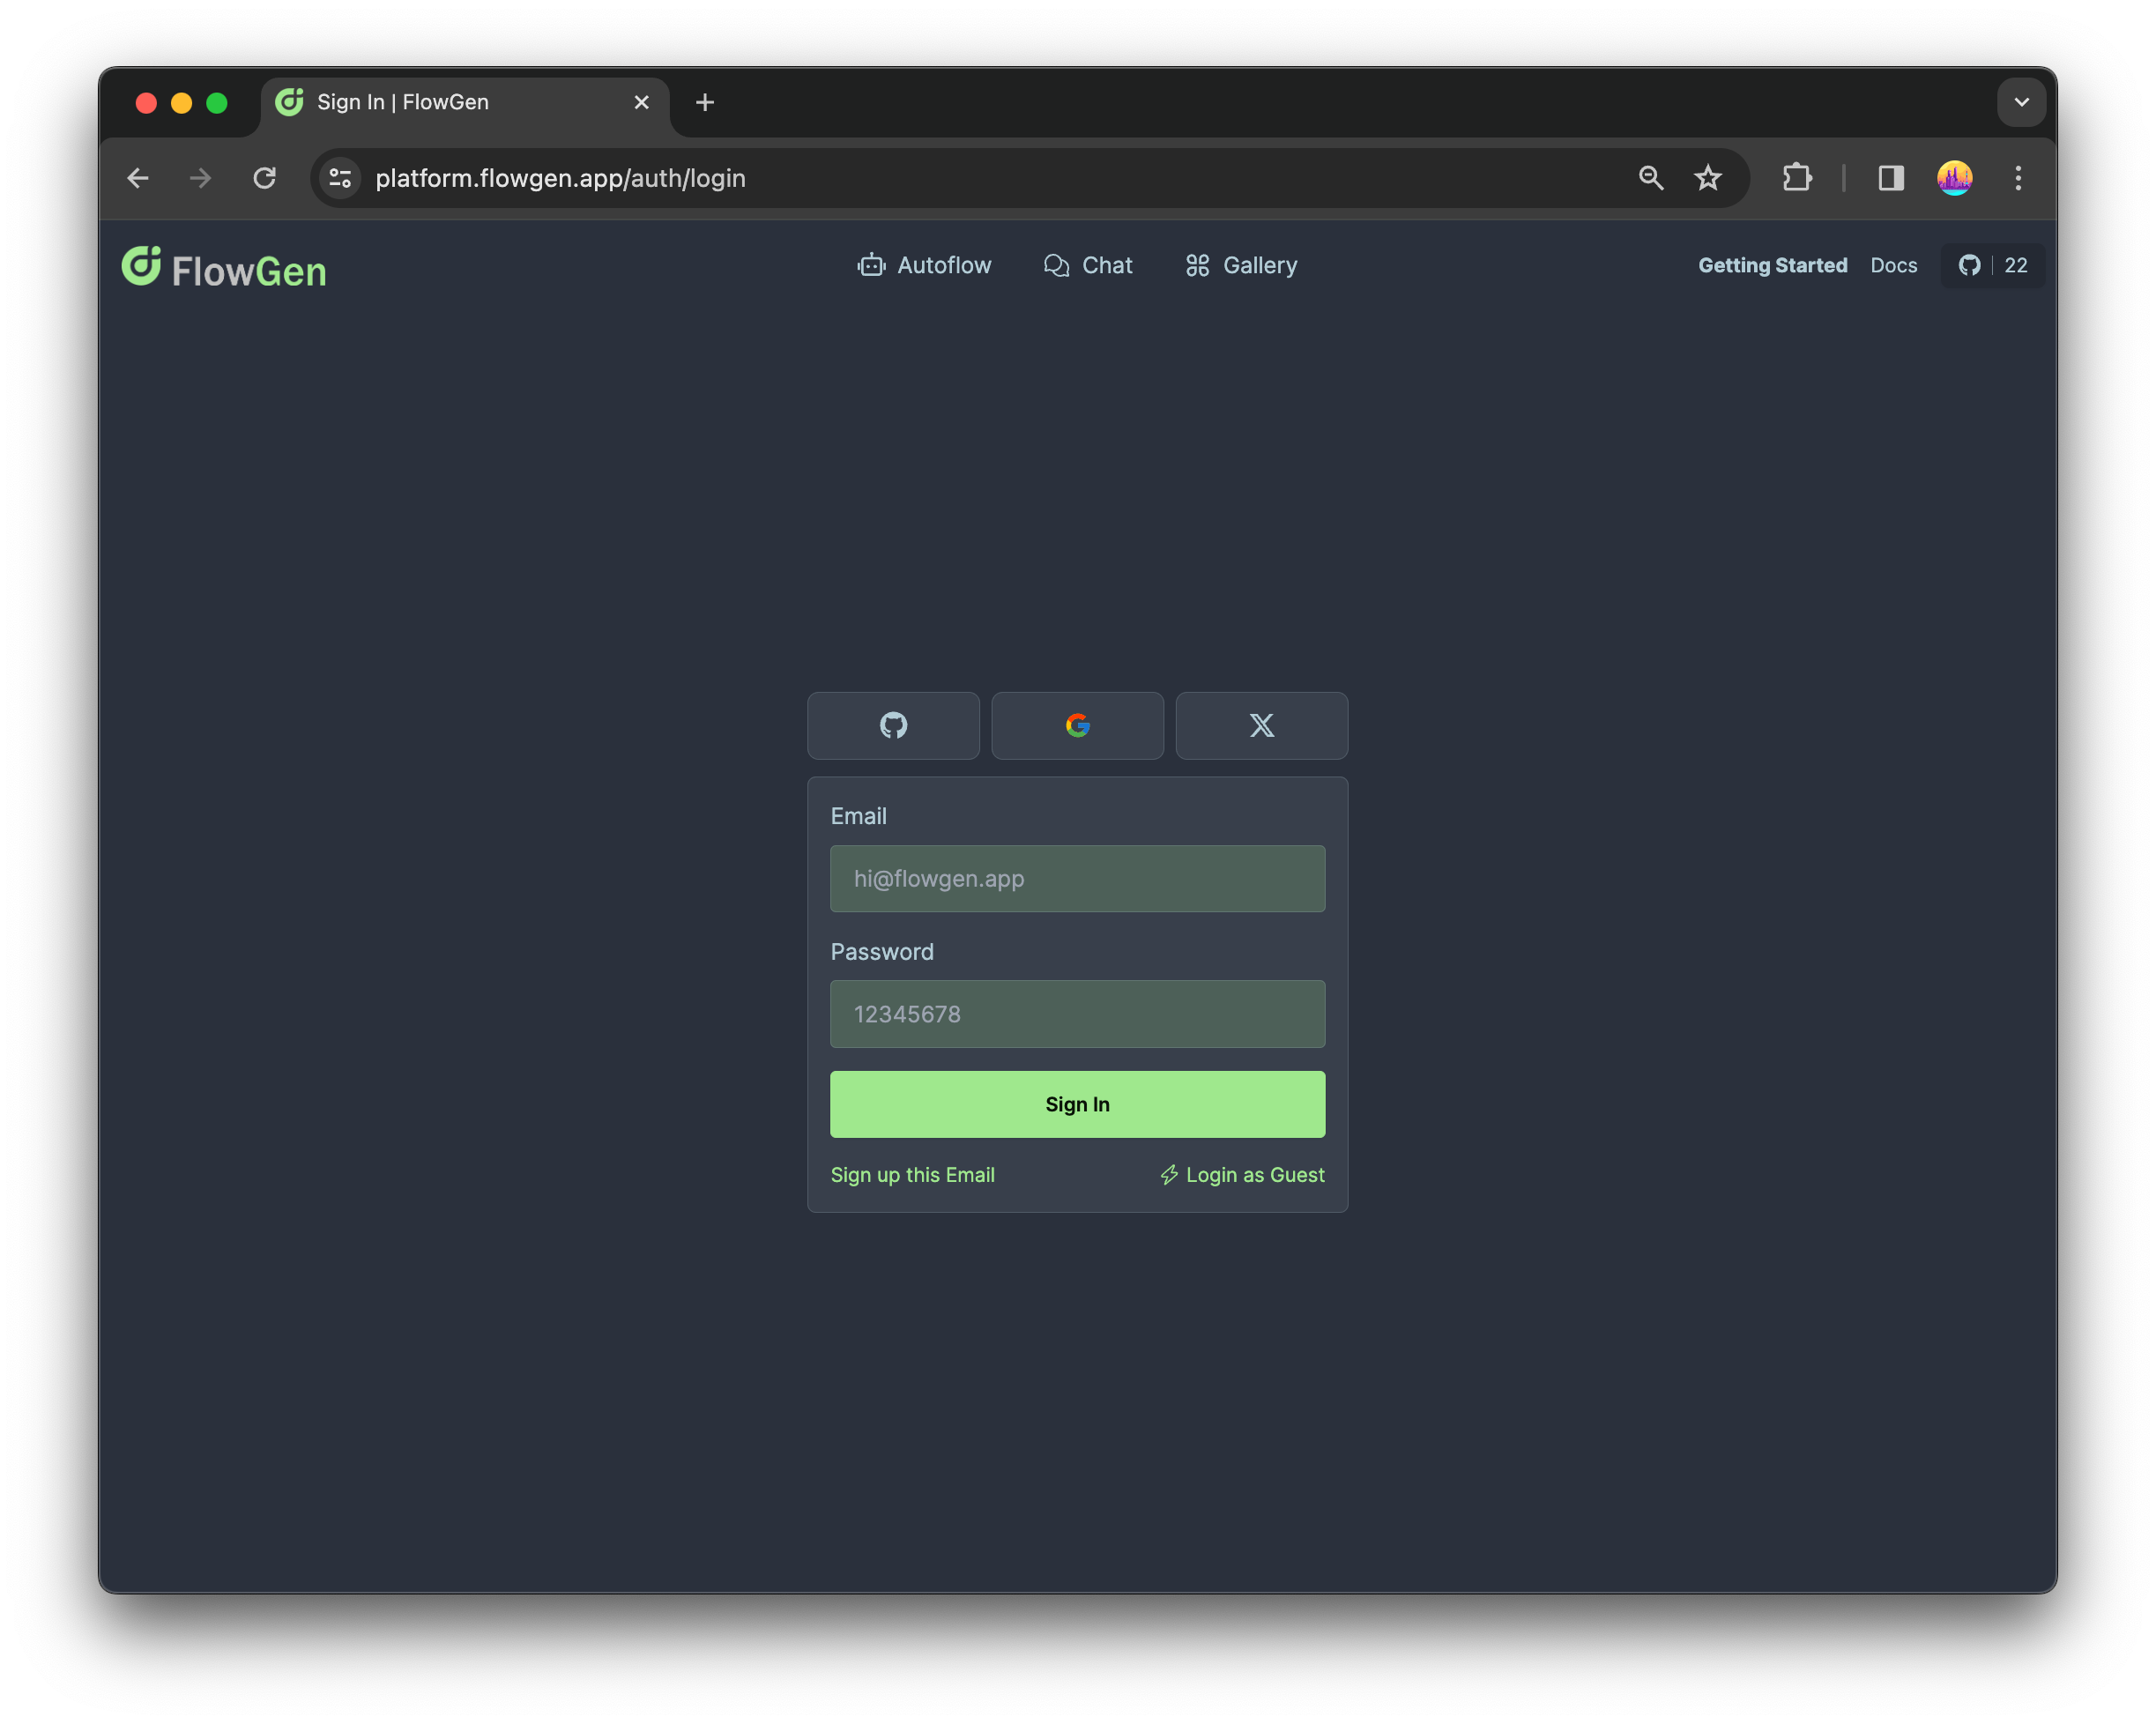
It's always a good practice to login with your own social ID and create your own Autoflow to play with.
Guest mode means your data is an open book to other guests. Sign in with your GitHub/Google/X account for a private experience.
Once you're in, go to the homepage and hit the Build from Scratch button to weave a new Autoflow.
Build Your First Autoflow
Get started by tidying up the canvas—scrap any sample nodes that are hanging about. Now, let's get crafting:
- Tap the plus sign ⨁ in the top left and ferry over an Assistant Agent.
- Next, snag a UserProxy Agent and drop it in place.
- Connect these two, and voilà—you've got flow! 🔗
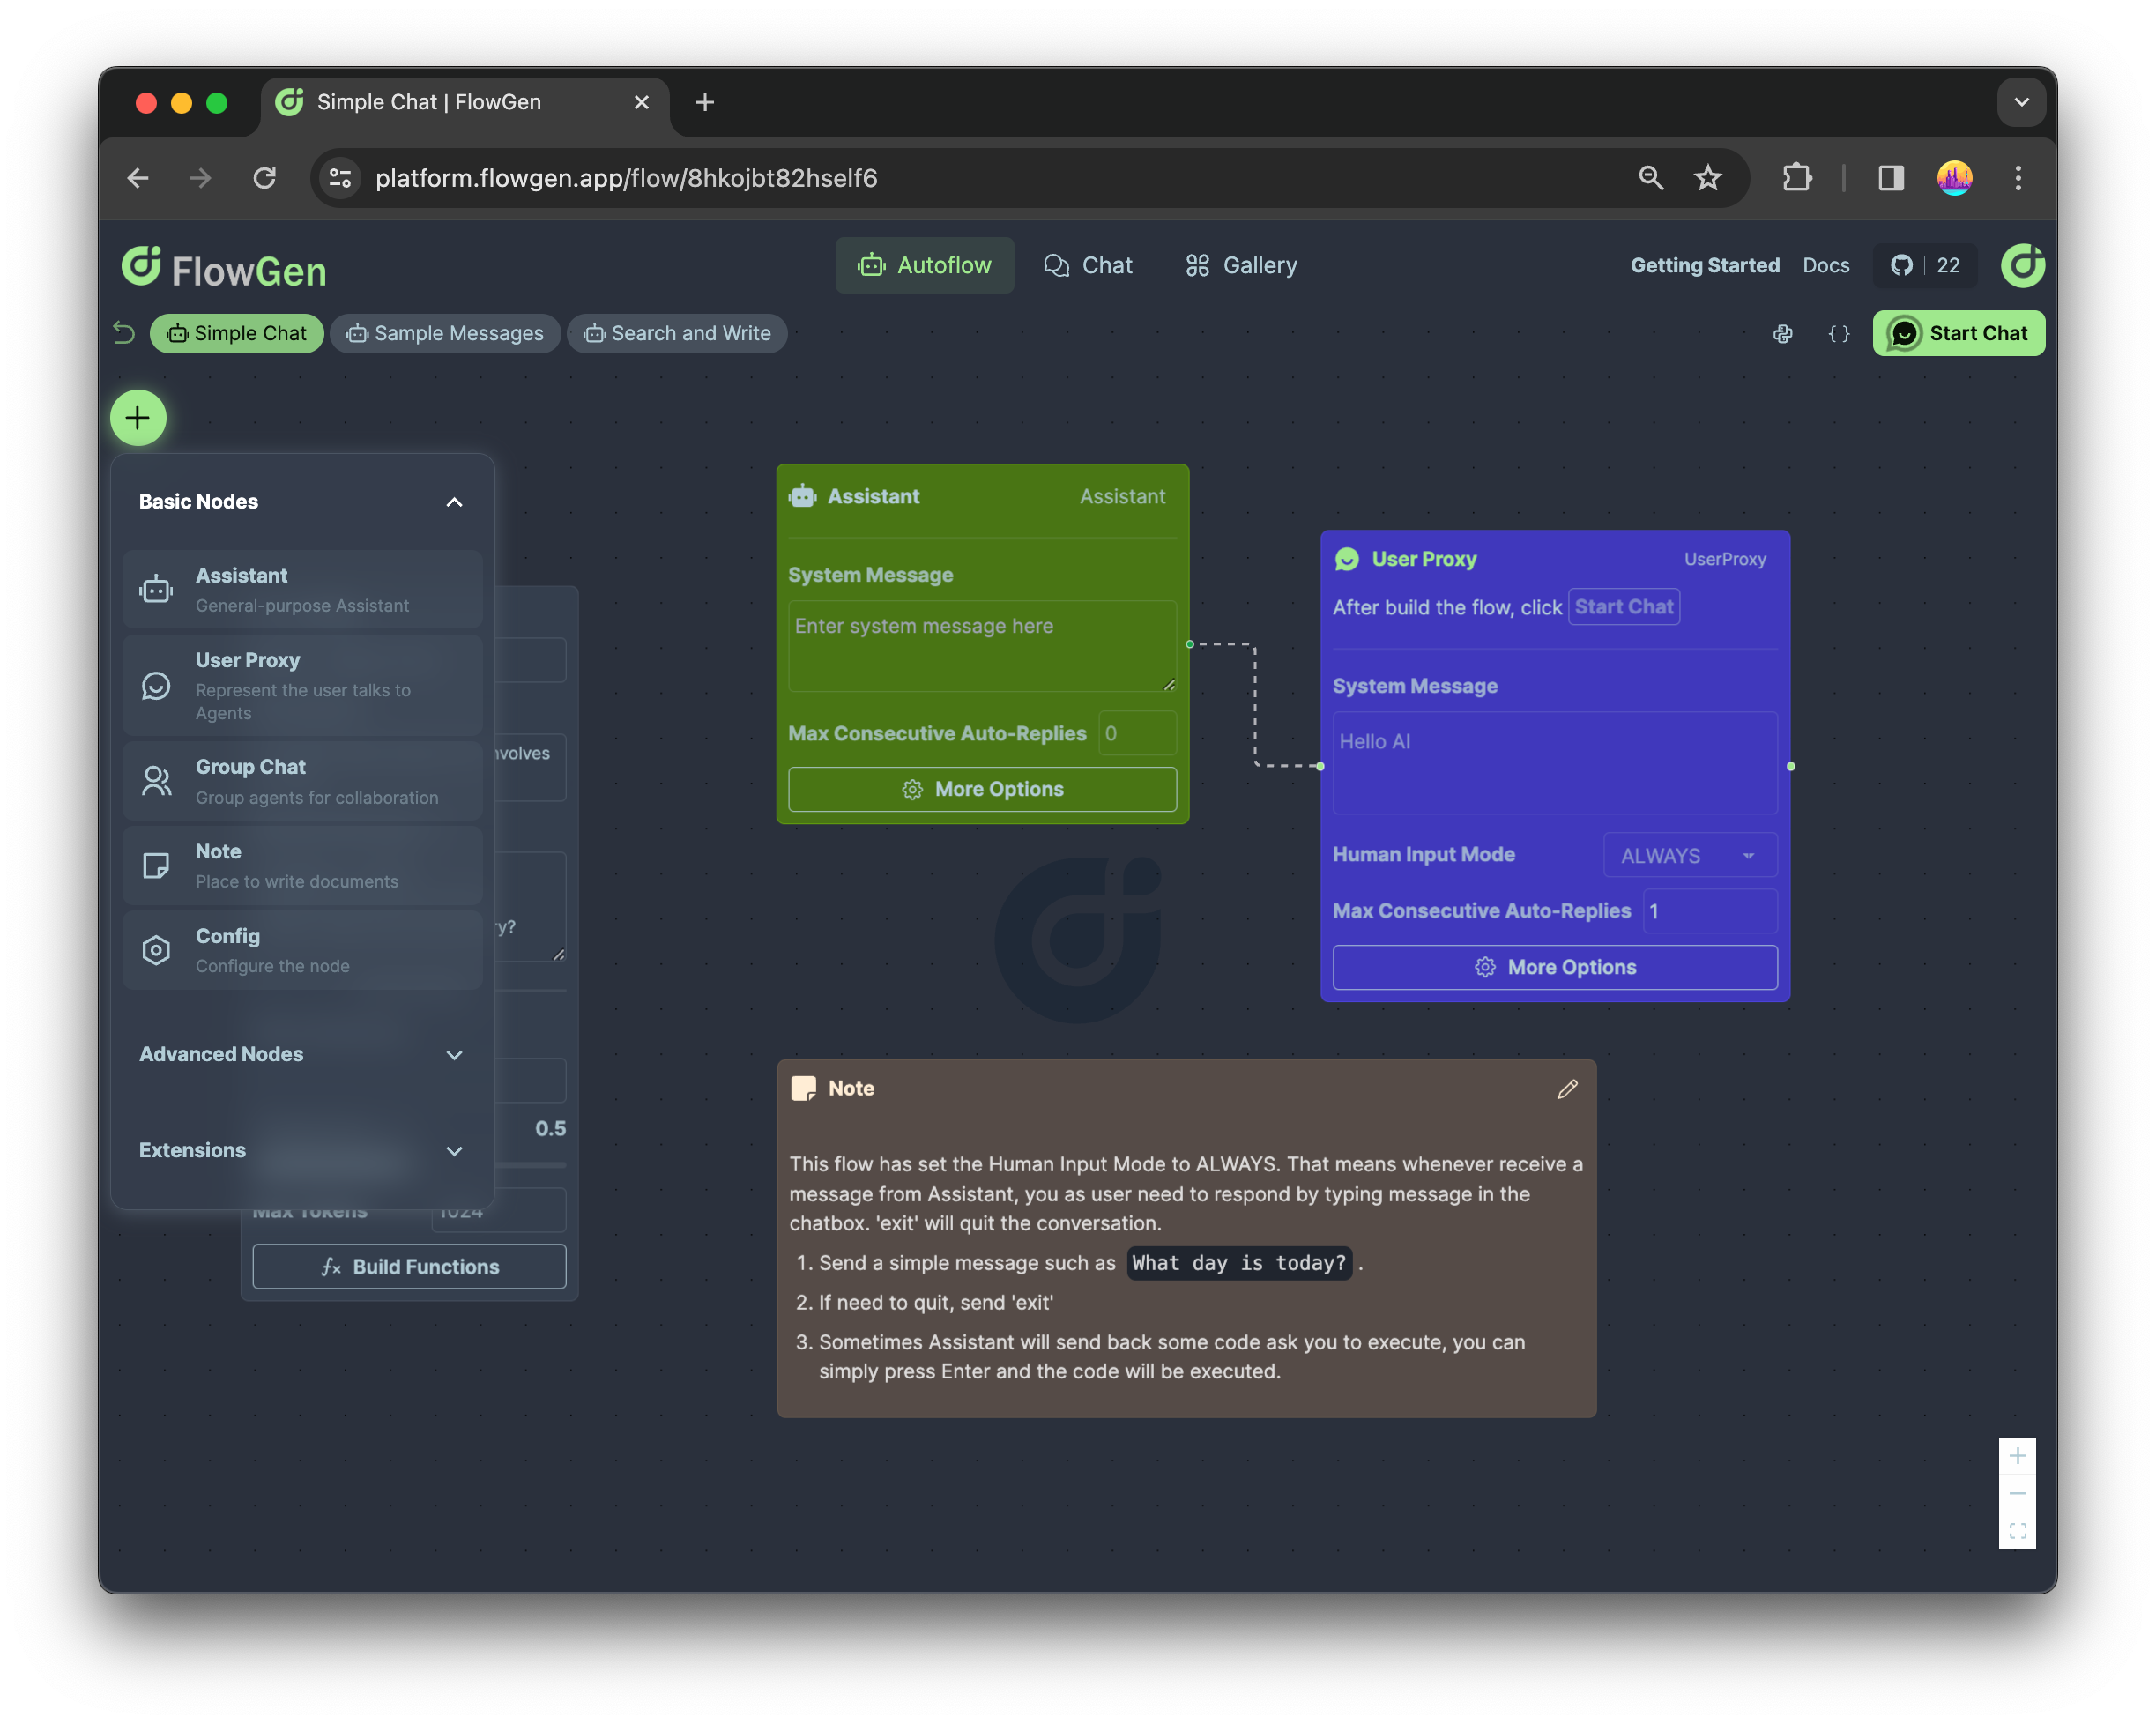
Here’s a visual to guide you through:
Some key points to note:
- Set Human Input Mode to ALWAYS, so human (you) can always provide feedback.
- Set Max Consecutive Auto-Replies to 1, so that if AsssitantAgent provide some code to execute, you can simply press Enter and UserProxyAgent will help to execute the code and send back the result to AssitantAgent. This is exactly what means by Multi-Agent Collaboration.
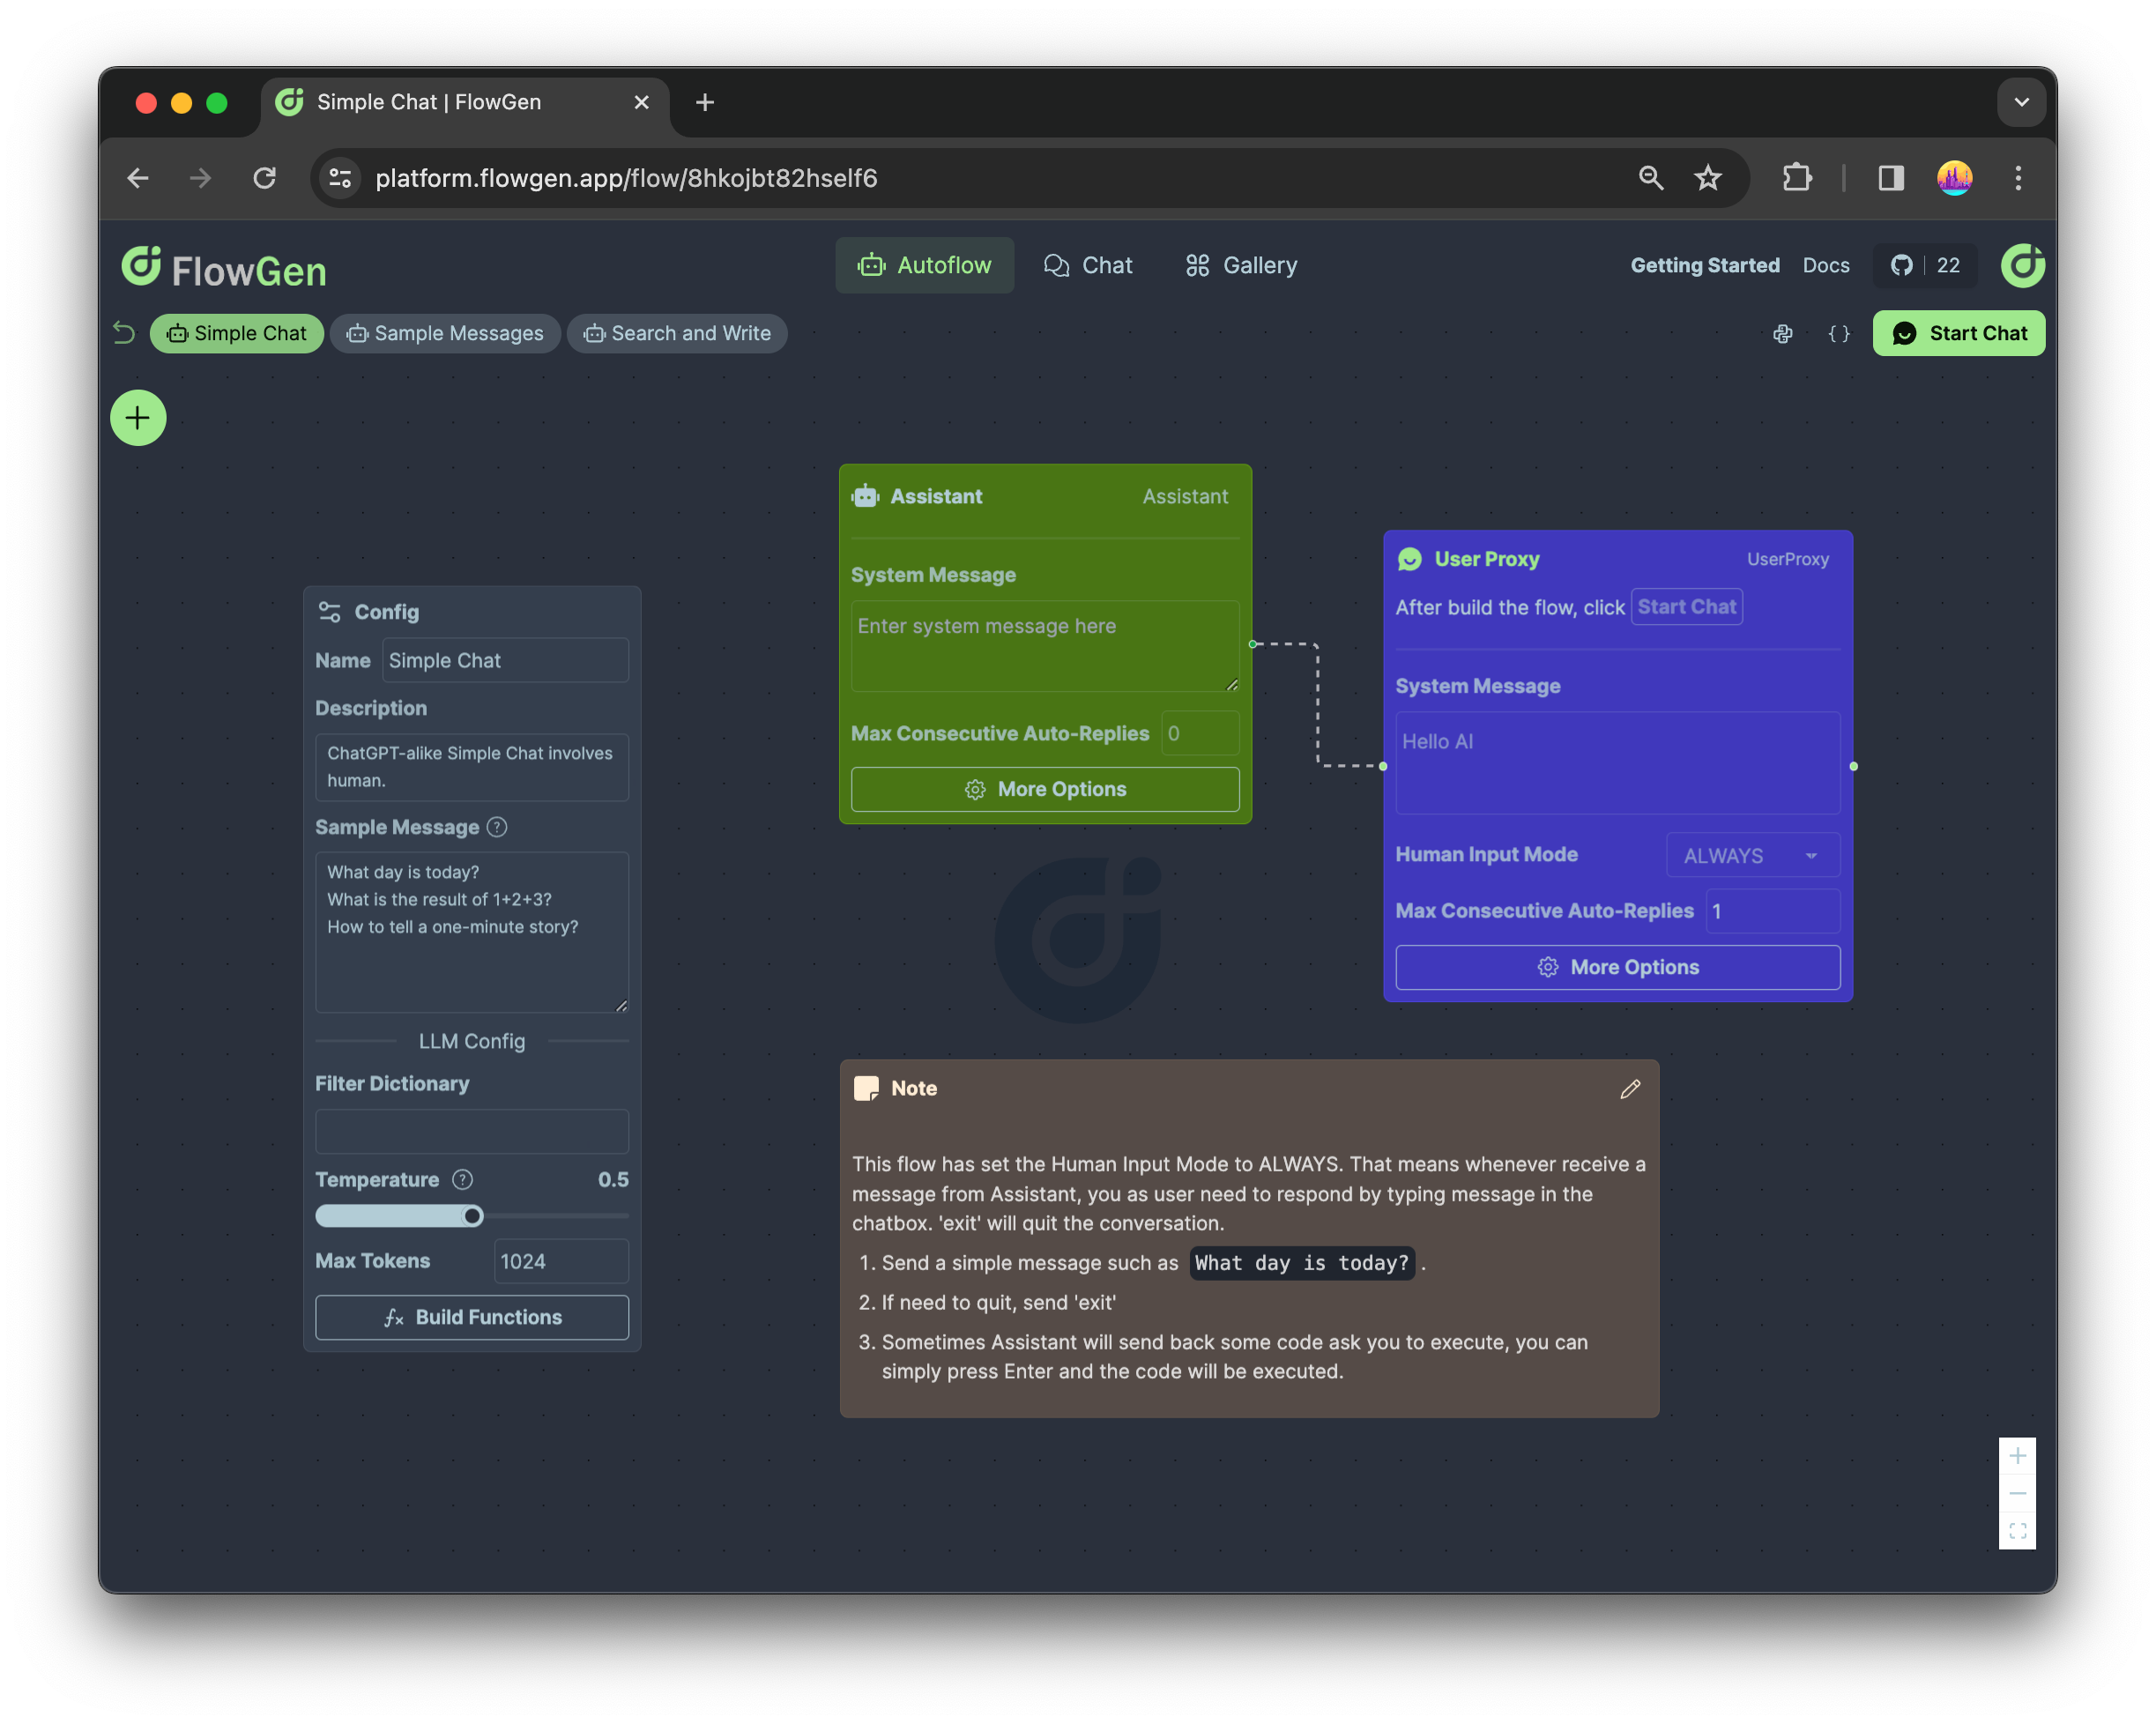
- A few Sample Messages are provided in Config node. This is a convenient feature for your target users to get started with your Autoflow.
Start Chat
Fire up your flow by smashing the Start Chat button at the top right. Click one sample message above the Send button and watch the magic unfold in your chat window:
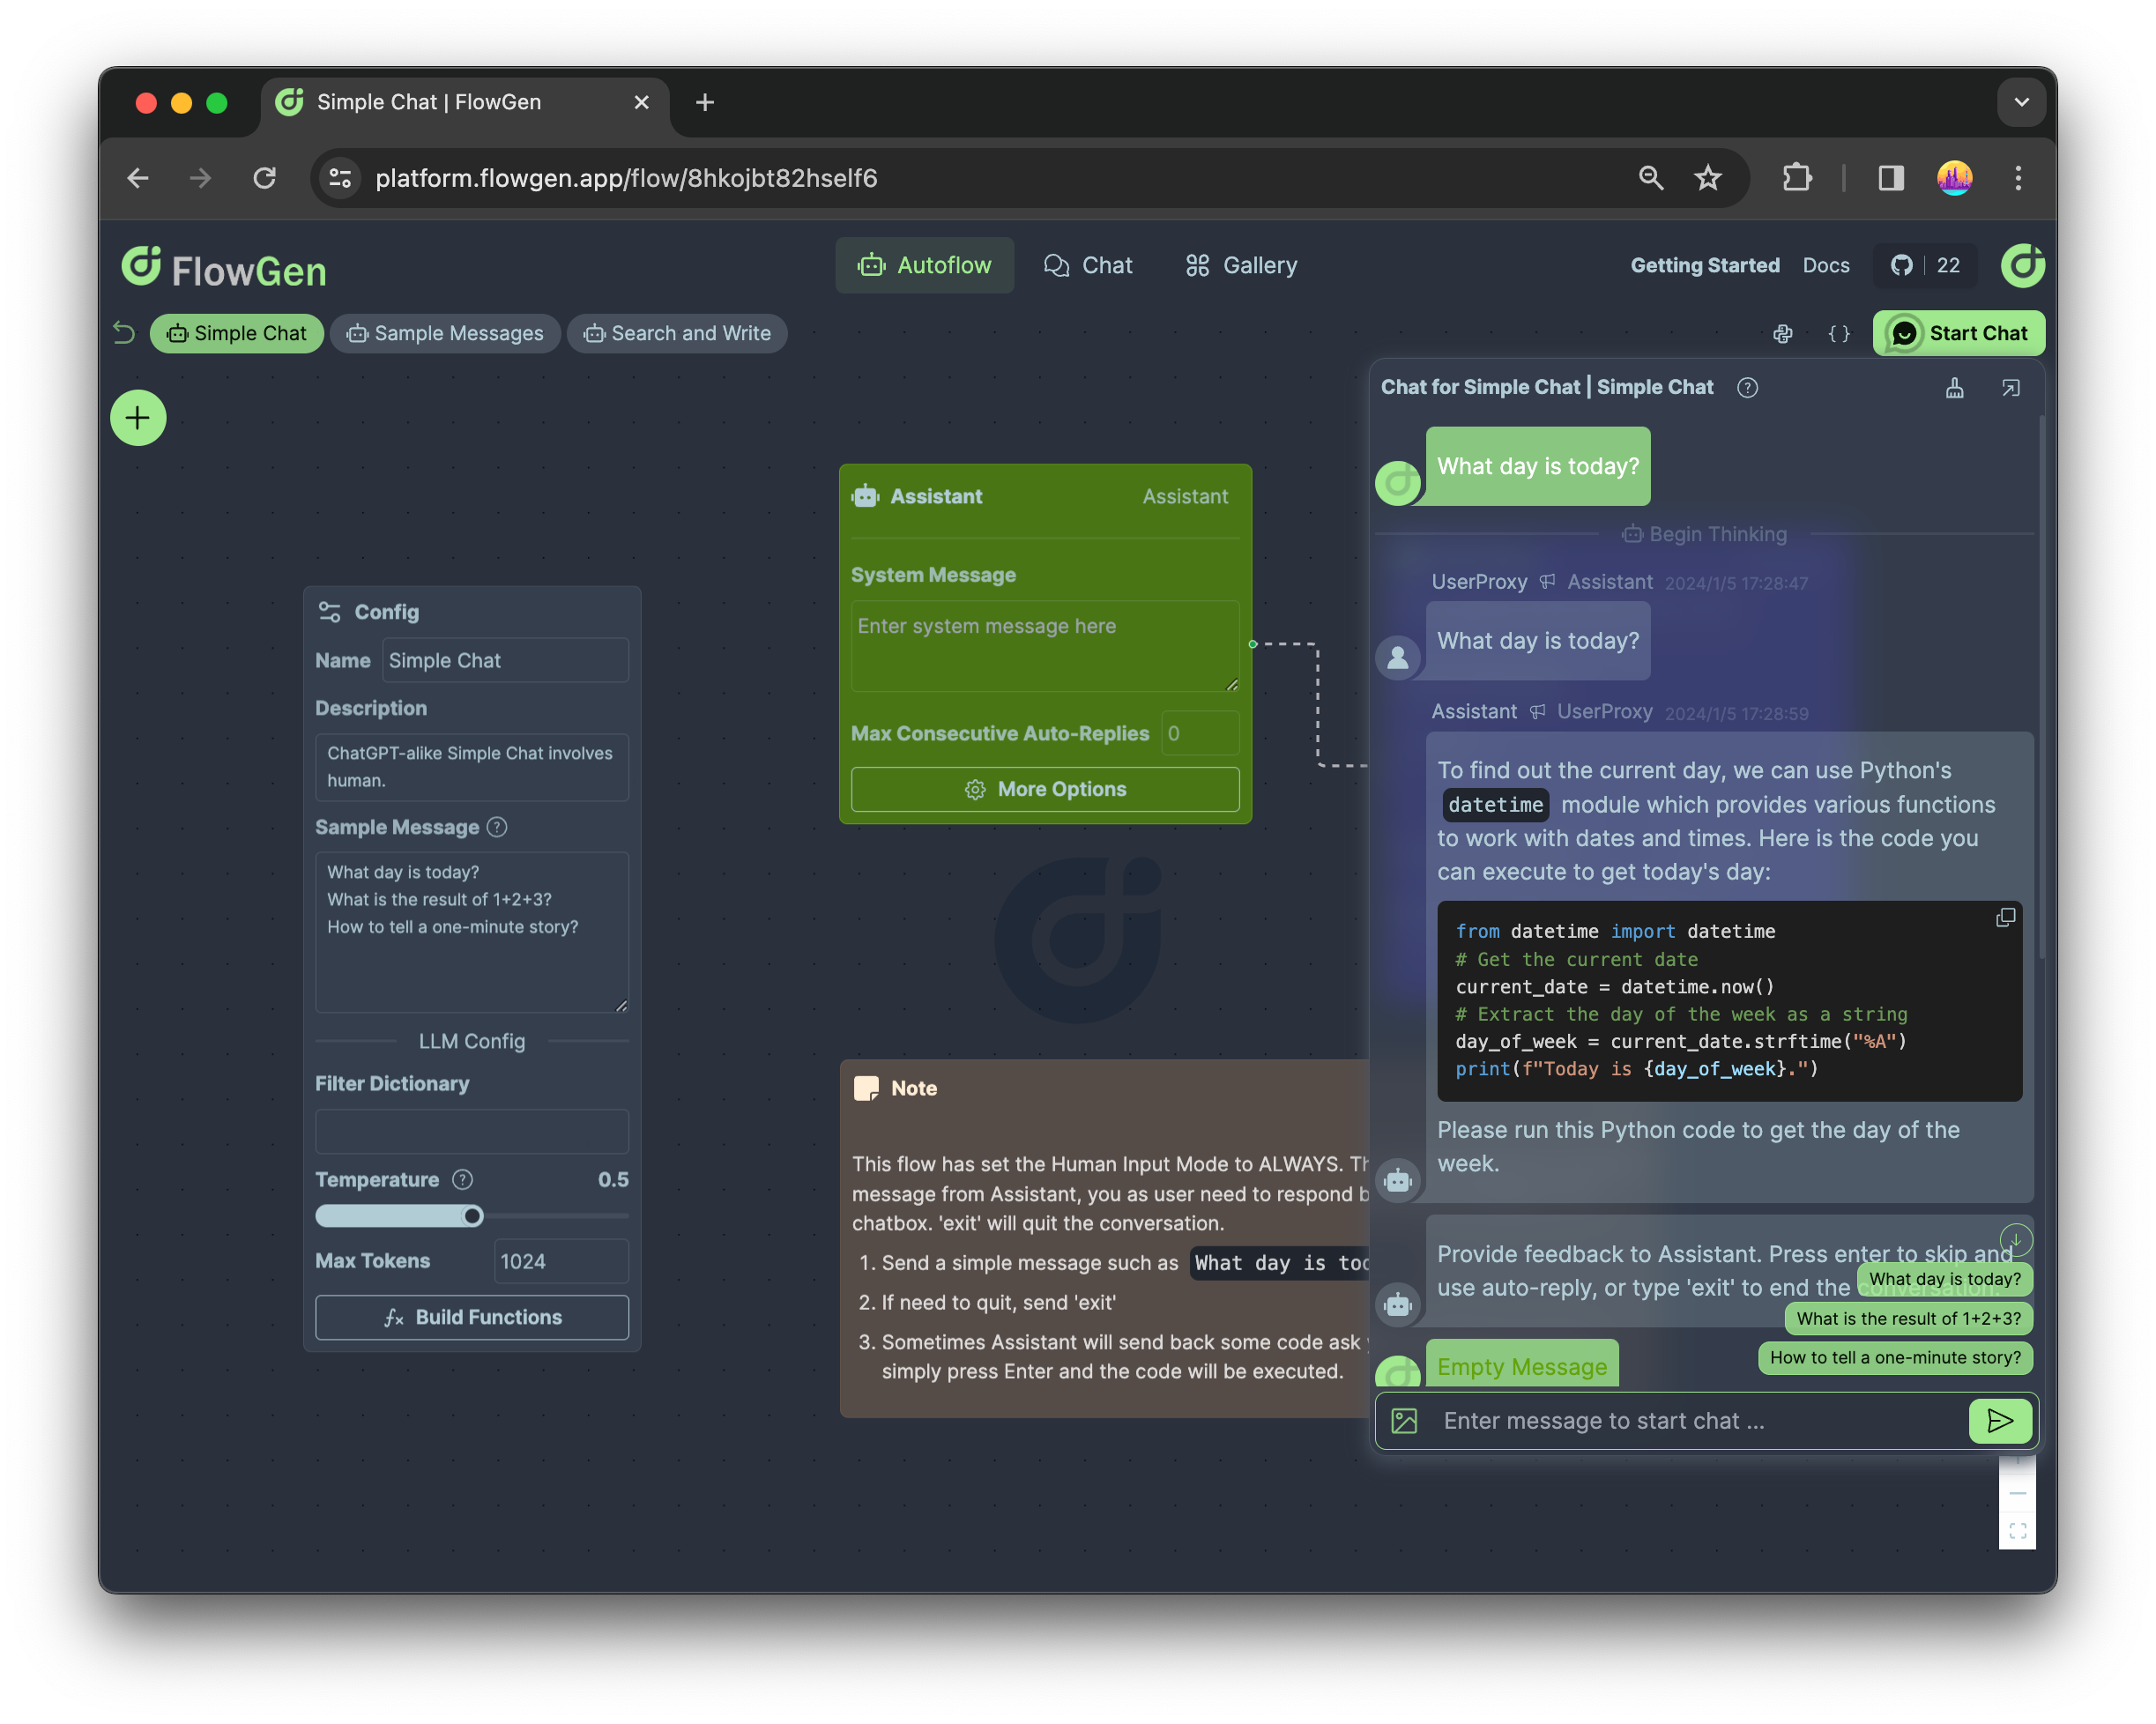
We know it's kinda difficult to write the first messages other than 'hi' or 'hello' in a chatbot. As you can see the samples above Send button, So we also provide a Sample Message feature to help you and your users get started. You can pick one to click and send.
Though the user experience looks like a chat app, we need to clarify that multi-agent app is generally for you to solve complicated problems, so it will not get responded as fast as a chat app. You may need to wait for a few seconds or even minutes to get the final answer.
Check Python Code
For developers who need to dive into more details about what is happening underhood, you can click the Python icon and check the generated Python code:
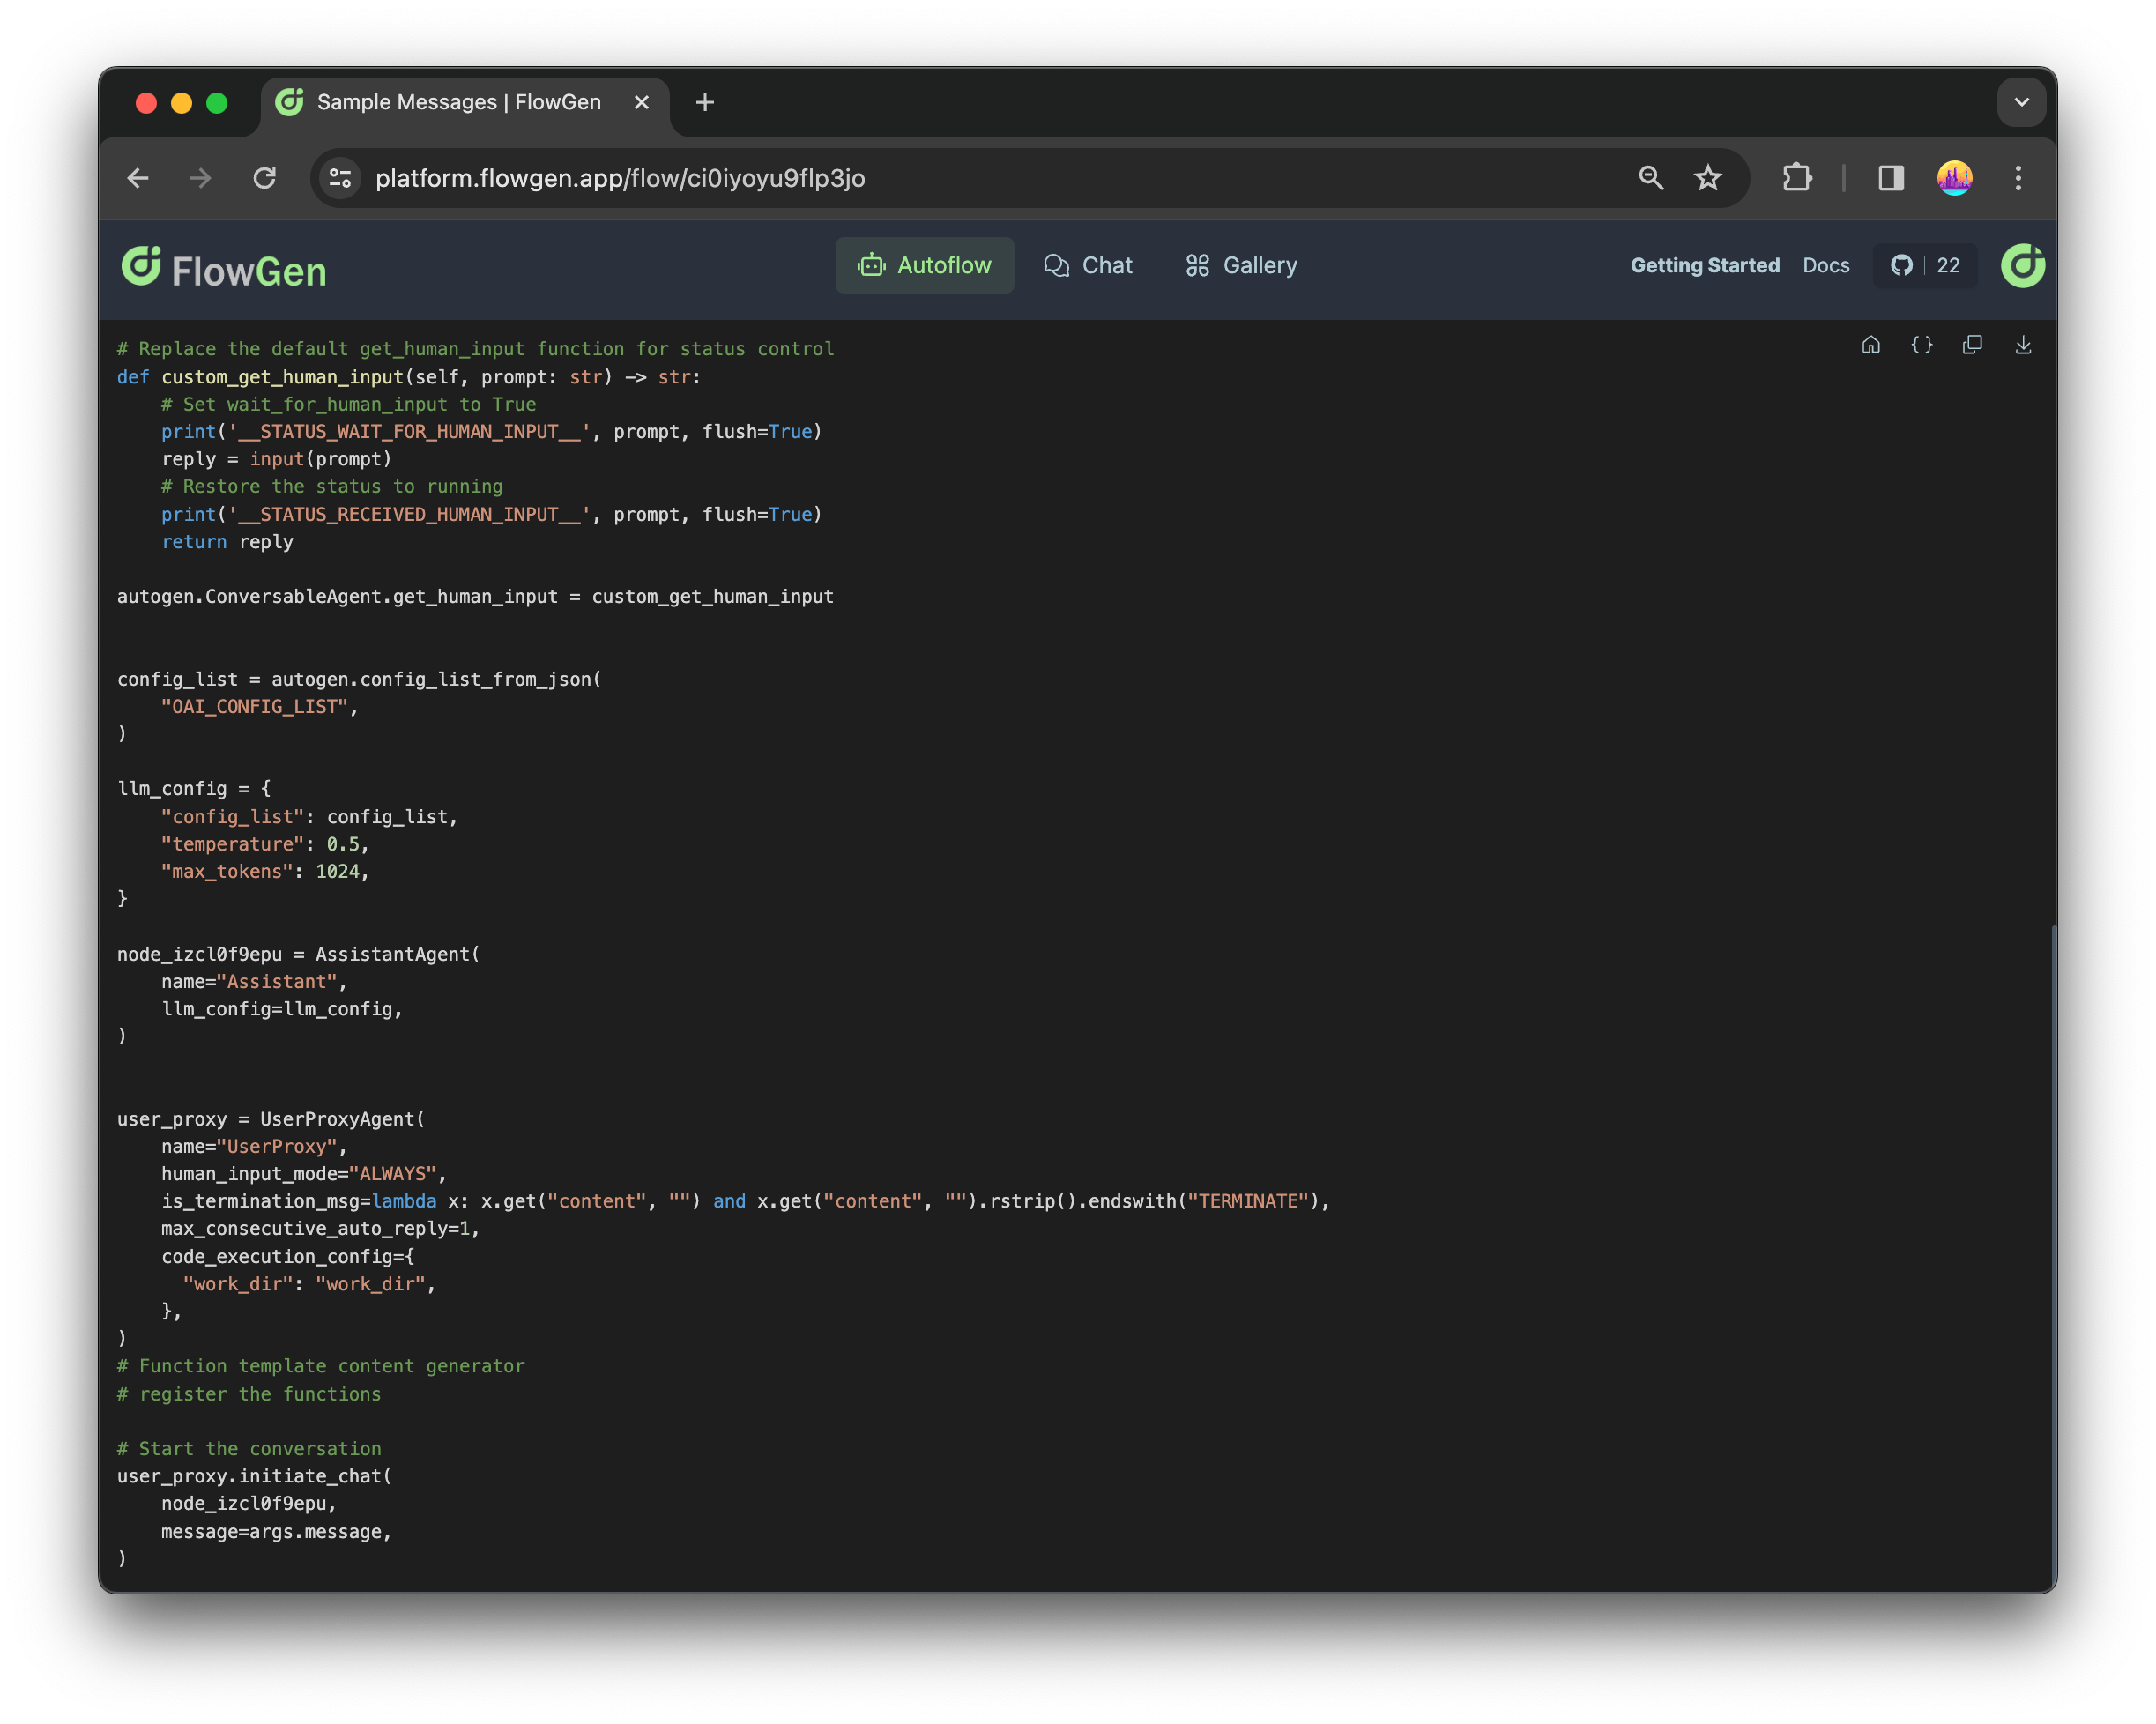
In most cases, the generated code has few dependencies other than AutoGen. You can copy and download the code to your local machine and run as norml console program with Python.
Publish as Template
If you're happy with your flow, publish it as a template for others to use. On Autoflow page you can find your Autoflow to publish:
hit the Publish as Template button at the bottom right of the Autoflow card:

And then you can find your template on Template page:
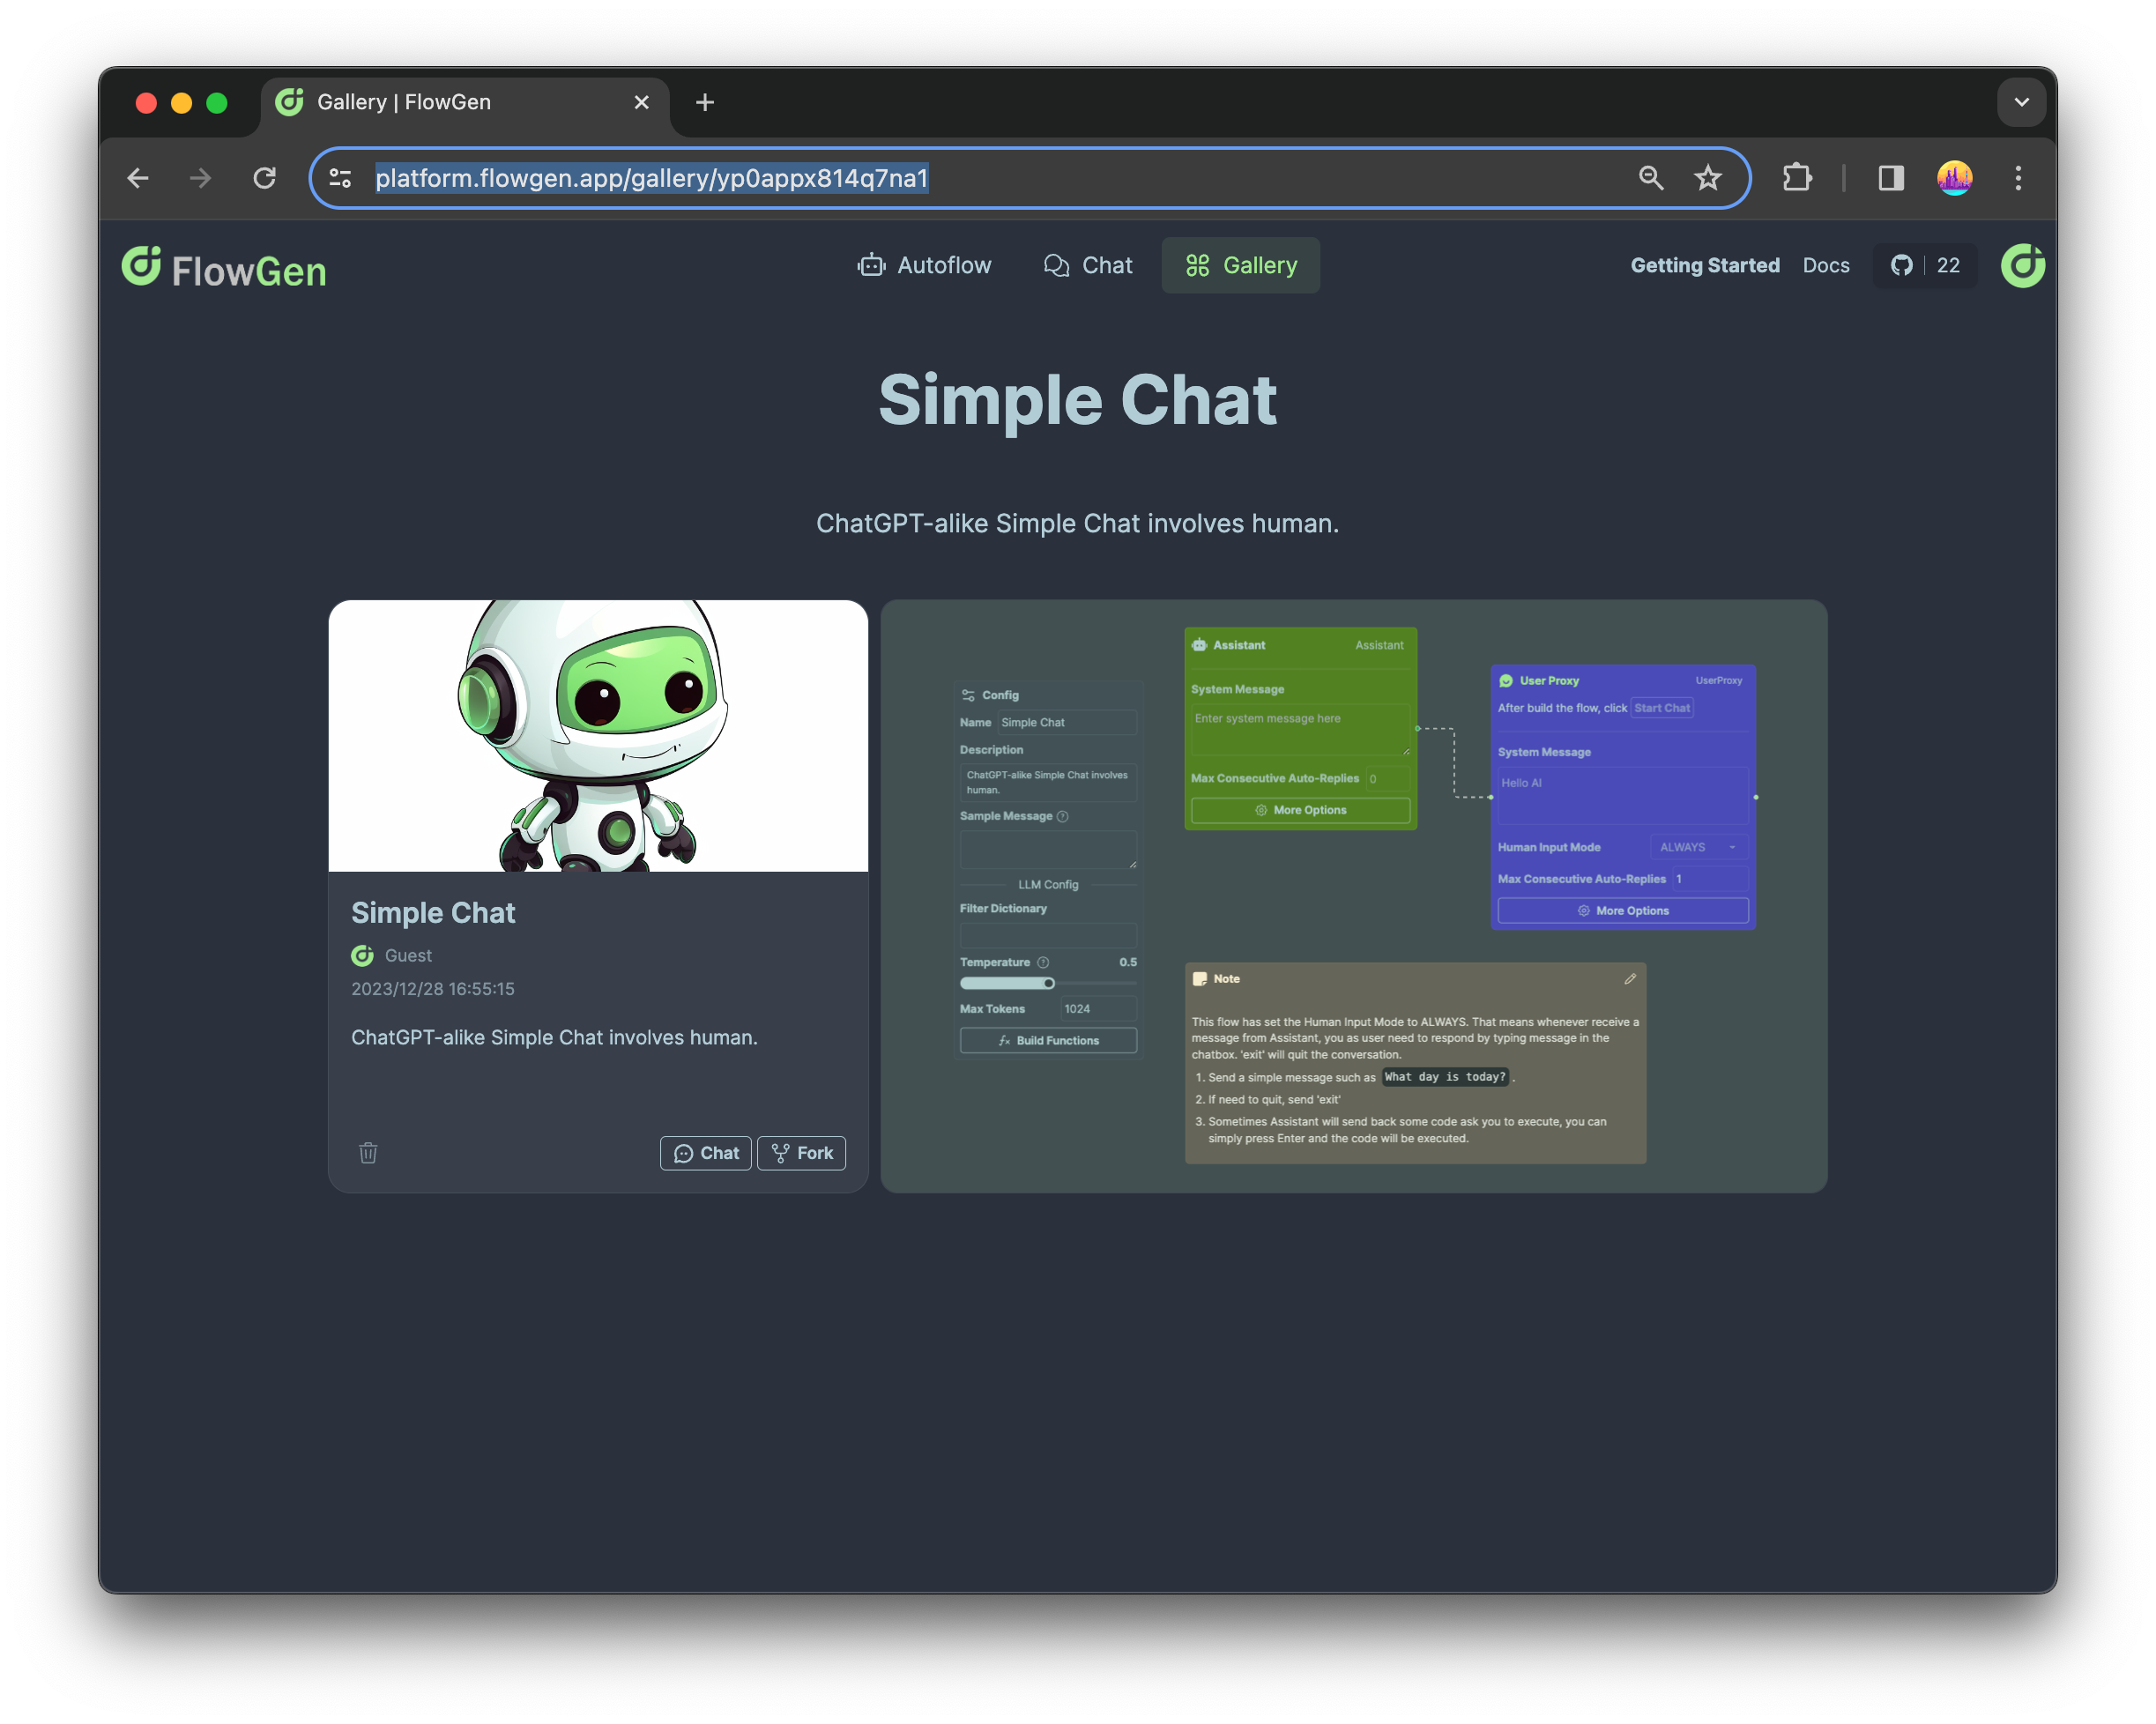
By clicking on the template card, you can view the details of the template:
The URL of template page is static and public, so you can share it with others to start a chat directly. You can also click the Fork button to build your own Autoflow based on this template.
Next Steps
This tutorial provided a concise overview, analogous to an introductory ChatGPT session. The dialog exchange was streamlined – a single interaction cycle swiftly delivers the intended message, concluding the UserProxyAgent demonstration effectively.
Looking ahead, we plan to enhance the functionality, introducing additional features to enrich the user experience. Stay tuned for further developments!
More Readings
Got a taste for FlowGen? Feast on these resources for seconds:
- FlowGen Template: Feast your eyes on a buffet of ready-to-serve templates.
- FlowGen Documentation: The ultimate guide to becoming a FlowGen whiz.
- FlowGen GitHub: Peek under the hood at the source code.
- AutoGen Documentation: Master the art of AutoGen with this comprehensive tutorial.
- AutoGen Notebook: Dive into Jupyter notebooks showcasing AutoGen's prowess.